PlanktoScope Simple Setup Guide
Download the image
To setup you have 2 choices.
-
Install classic version of PlanktoScope folow this link PlanktoScope-v2.3
-
Install custom version base on PlanktoScope-v2.3 but specify the project Lacoscope, please download the image : PlanktoScope-v2.3-IESE_2022
-
Install custom version base on PlanktoScope-v2.4 but specify the 2023 project Lacoscope , please download the image : PlanktoScope-v2.4-IESE_2023 (In order to download the OS image you have to authentify on alfresco)
Flash OS image onto the SD card
The device is unmounted
- To start choose an SD card without data on it (All data will be remove during flash).
- Connect the SD card to your computer
- Download and install a software to flash OS images onto the SD cards. For example you can use BalenaEtcher
Now we can flash the SD card with the sofware that you choose. For this follow these steps :
- Open your soft (for the rest of this demonstration we can use BalenaEtcher).
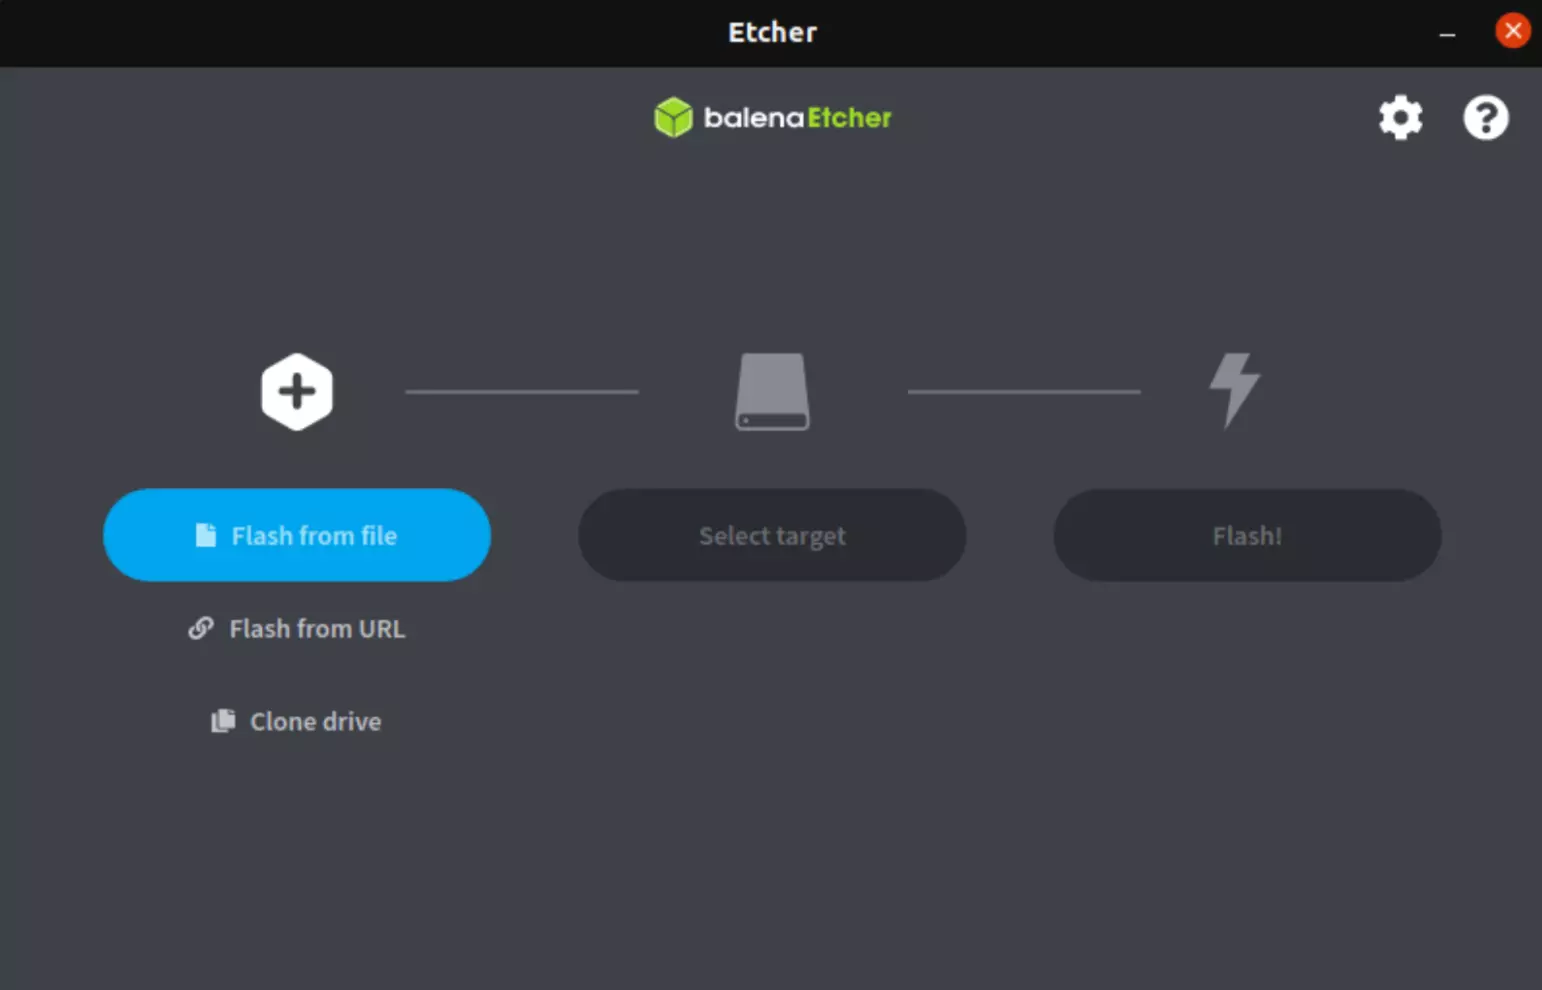
- In the first step select
flash from fileand choose the image (previously downloaded).

- Select your device by clicking on
Select targetand choose the good SD card.
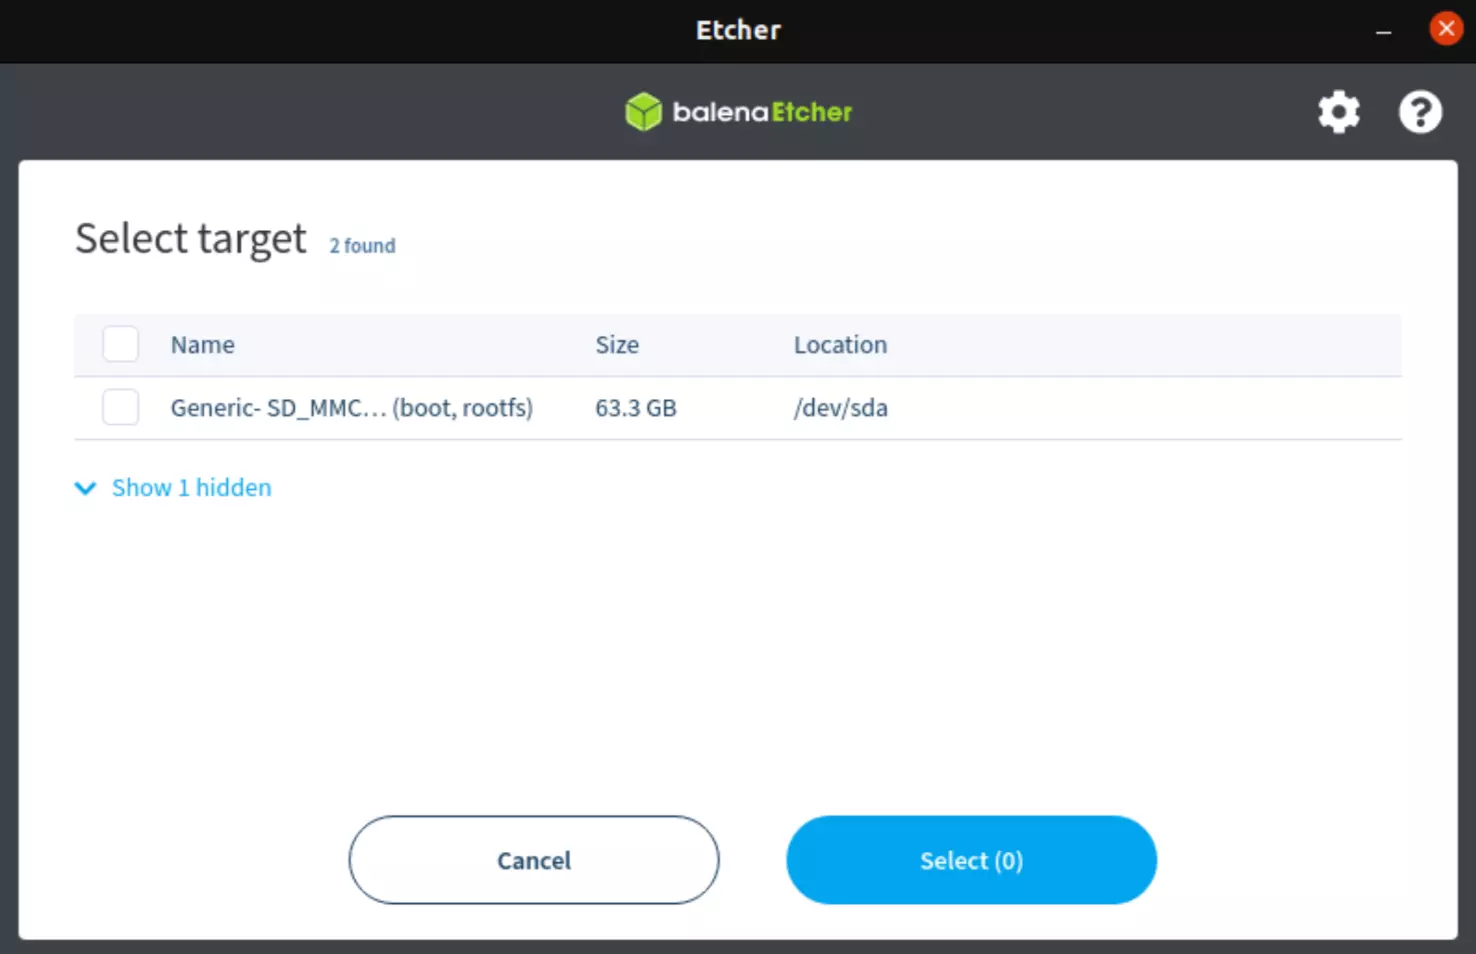
Warning
Please choose the right SD card! For this you can check the name and/or the size.
- To clik on
Flash!and wait few minute (take a break ☕+🥐)
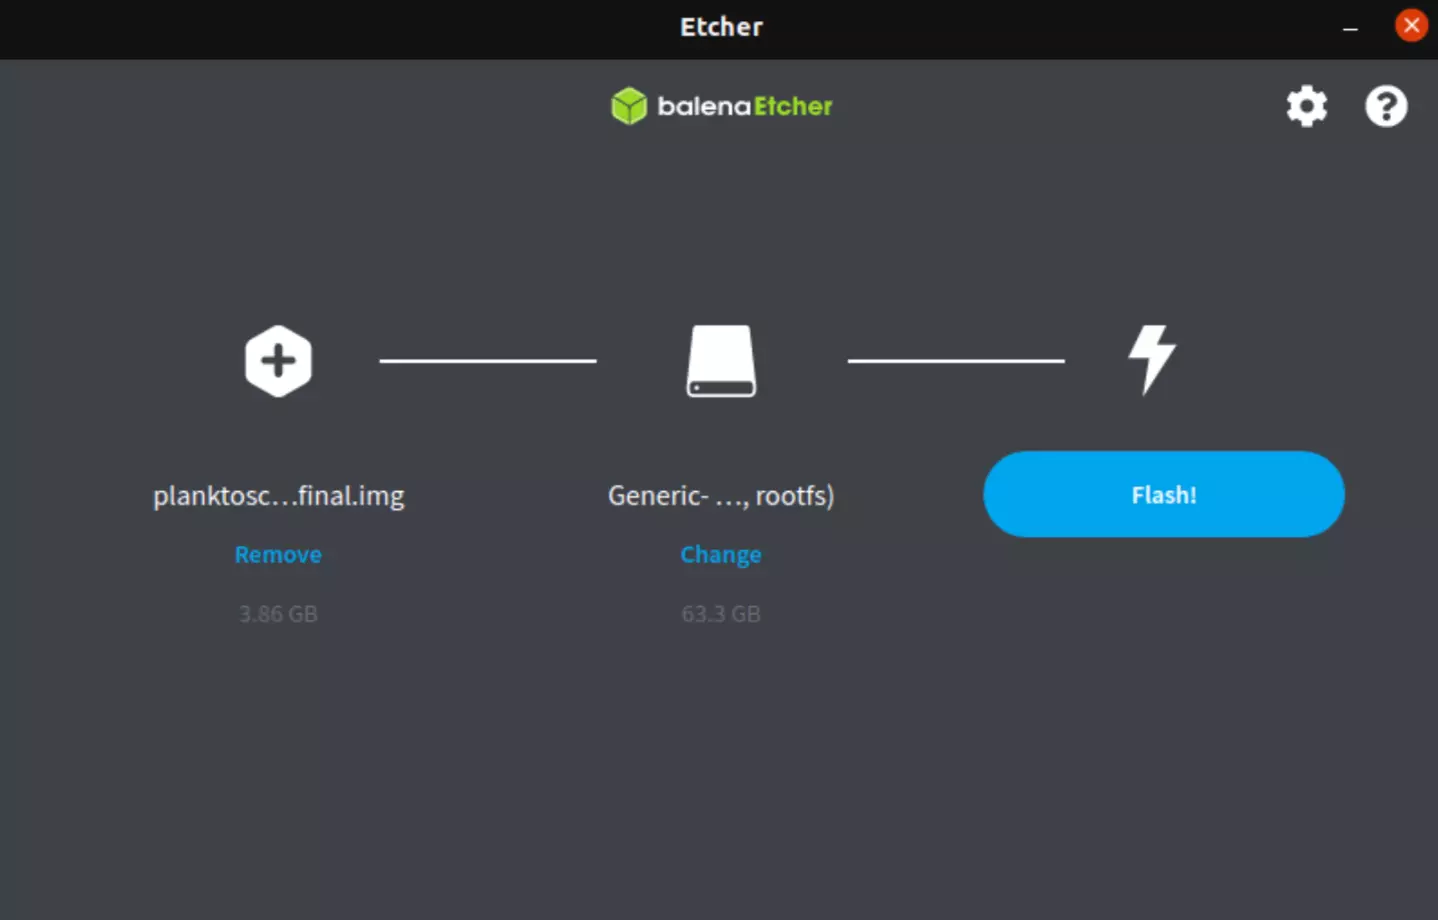
Tip
You need to unmount your device before removing it.
The device is already mounted
In order to flash OS image onto the SD card when the device is already mounted, you have to connect the Planktoscope and your computer to the same network (see Connect a PlanktoScope to the Wifi). Then, you can connect to the Raspberry Pi through SSH connection (see Start coding). Make sure you have a repository of your project on GitHub in order to change the OS image remotely. Now, you can enter the following commands one by one in the command prompt (cmd for windows).
git config --global http.sslVerify false
git fetch --all
git reset --hard <Name of your repository/branch (main or other)>
git fetch
Note
If this message “WARNING: REMOTE HOST IDENTIFICATION HAS CHANGED!” appears during the operation, you must generate a key entering the following command: ssh-keygen -R
Note
Once all of those steps are done, you have to reboot the planktoscope in order to update the device and to get the new OS image wanted.
Install the PlanktoScope
Currently you have an SD card with a software for the PlanktoScope. Now insert the SD card into the PlanktoScope and connect it to the electrical grid.
When the light under the fan hat is blue, this mean that the installation went smoothly and the Planktoscope is ready ✅.
Tips
If you want more information about the meaning of led colors please read this section: here
Warning
Once the SD card with the software is inserted within the Raspberry Pi, make sure that all the electronic parts are mounted with all the necessary connections made (Pi camera, motors, GPS, fan, pump)
Pump value setup
If you use one of our Planktoscope (project Lacoscope number 0,1,2 or 3) you can directly select your machine version. This step allows you to pass the pump calibration.
Here are the steps to follow :
- On Node-red interface (http://planktoscope.local:1880/ui) go to the page
Hardware Settings - In the section
Machine versionselect your PlanktoScope (project Lacoscope number)
Otherwise you need to calibrate your PlanktoScope please got to calibration section : Calibration
Start Playing !!!
Now you can start to play with your new Planktoscope. For that we need to connect your computer to PlanktoScope’s Wifi.
-
Wifi Ssid start by
PlanktoScope-Baba*****-******
(example PlanktoScope-Babajai_Muqouqo) -
Wifi Password is
copepode
Tip
The name of ssid is display on the screen above the fan hat.
When you are connected to the PlanktoScope’s Wifi, you just need to follow this link http://planktoscope.local:1880/ui to access the control panel.
Note
If you want to connect the planktoscope and your computer to the same wifi network, take a look at how to Connect a PlanktoScope to the Wifi.
If you have not yet assembled your PlanktoScope, go to the Assembly Guide.